Picture this: a sweltering summer day, the heat pressing down on you like a heavy blanket. Suddenly, cool air flows into the room, and relief washes over you. This is the promise of a portable air conditioner, but getting it set up correctly is key to unlocking that comfort.
Most guides recommend placing the unit near a window and an outlet for optimal performance. Proper venting is crucial, as an exhaust hose that isn’t set up correctly can reduce efficiency by up to 90%. This guide walks you through every step, ensuring your space stays cool without the hassle.
Whether you’re dealing with a small room or a larger space, this research-backed guide provides actionable tips to avoid common mistakes. From assembling the kit to troubleshooting, we’ve got you covered. Let’s make your environment comfortable and stress-free.
Key Takeaways
- Place the unit near a window and outlet for better efficiency.
- Proper venting with an exhaust hose is essential for cooling performance.
- Follow step-by-step instructions to avoid common setup errors.
- Ensure the window adapter fits securely to prevent air leaks.
- Drain the water reservoir regularly to maintain the unit’s functionality.
Understanding Your Cooling Needs and Installation Requirements
Cooling your home efficiently starts with understanding your specific needs. Whether you’re dealing with a small room or a larger space, evaluating your setup is the first step to achieving optimal comfort. Let’s break down what you need to consider before getting started.
Assessing Your Room and Window Layout for Optimal Cooling
Start by evaluating the size of your room. A smaller space may require less cooling power, while larger areas need a unit with higher BTU ratings. Positioning the air conditioner near a window ensures proper venting and maximizes efficiency.
Make sure the exhaust hose has enough space to vent hot air outside. Obstructions can reduce performance, so clear the area around the unit. If your furniture blocks airflow, consider rearranging it for better results.
Evaluating Electrical Outlet Accessibility and Space Considerations
Check the location of your electrical outlets. The unit should be close enough to plug in without using extension cords, which can pose safety risks. Ensure there’s enough floor space for the air conditioner to operate without hindrance.
Minimize gaps around the window kit to prevent hot air from seeping back in. A snug seal can improve cooling efficiency by up to 90%. Follow the manufacturer’s tips to verify the setup is safe and effective.
By taking these steps, you’ll create a cooling system that works seamlessly for your home. Next, we’ll dive into the essential components and tools you’ll need for the setup.
Your portable ac installation guide: Essential Components and Tools
Before you dive into the setup, let’s ensure you have all the right tools and components. A smooth installation starts with preparation, and missing even one small part can lead to frustration. Let’s walk through the essentials so you’re ready to tackle the job with confidence.
Identifying Key Components: Hose, Adapter, and Installation Kit
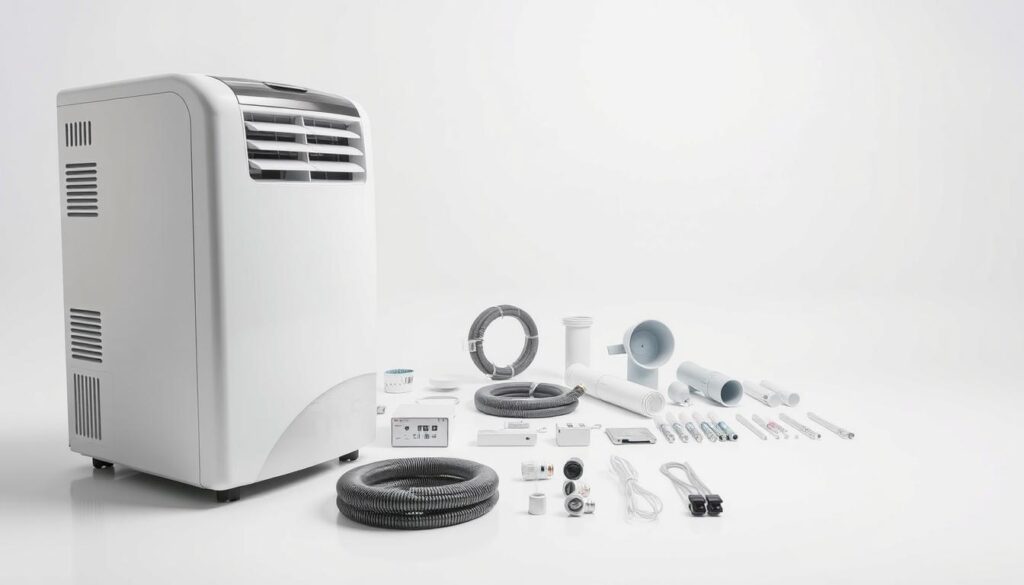
Every air conditioner setup relies on a few critical pieces. The exhaust hose is perhaps the most important—it vents hot air outside, keeping your space cool. Without it, your unit won’t function efficiently.
Next, the window adapter ensures a snug fit in your window, preventing hot air from sneaking back in. Most kits include adjustable sliders to fit various window sizes. Finally, the installation kit typically comes with screws, brackets, and seals to secure everything in place.
Gathering the Necessary Materials and Following Manufacturer Tips
Before starting, double-check that you have all the parts listed in the manual. Missing a single screw or bracket can delay the process. Manufacturers often provide specific tips, like using foam seals to reduce air leakage by up to 50%.
Here’s a quick checklist to ensure you’re ready:
- Exhaust hose: Connects the unit to the window adapter.
- Window kit: Includes sliders, screws, and seals.
- Adapter: Creates a tight seal in the window frame.
- Tools: Screwdriver, duct tape, and measuring tape.
One common mistake is not measuring the window beforehand. About 40% of users report issues with fitting the adapter, so take the time to measure and adjust as needed. Proper preparation now saves time and hassle later.
| Component | Purpose |
|---|---|
| Exhaust Hose | Vents hot air outside for efficient cooling. |
| Window Adapter | Creates a secure seal in the window frame. |
| Installation Kit | Includes screws, brackets, and seals for setup. |
By gathering these components and following the manufacturer’s advice, you’ll set the foundation for a seamless installation. Next, we’ll explore how to choose the best location for your air conditioner to maximize its performance.
Choosing the Best Location for Your Portable Air Conditioner
Finding the perfect spot for your cooling unit is like solving a puzzle—every piece must fit just right. The right location ensures your air conditioner works efficiently, keeping your space comfortable without wasting energy. Let’s explore how to choose the ideal spot for your portable air conditioner.
Selecting an Optimal Window for Effective Ventilation
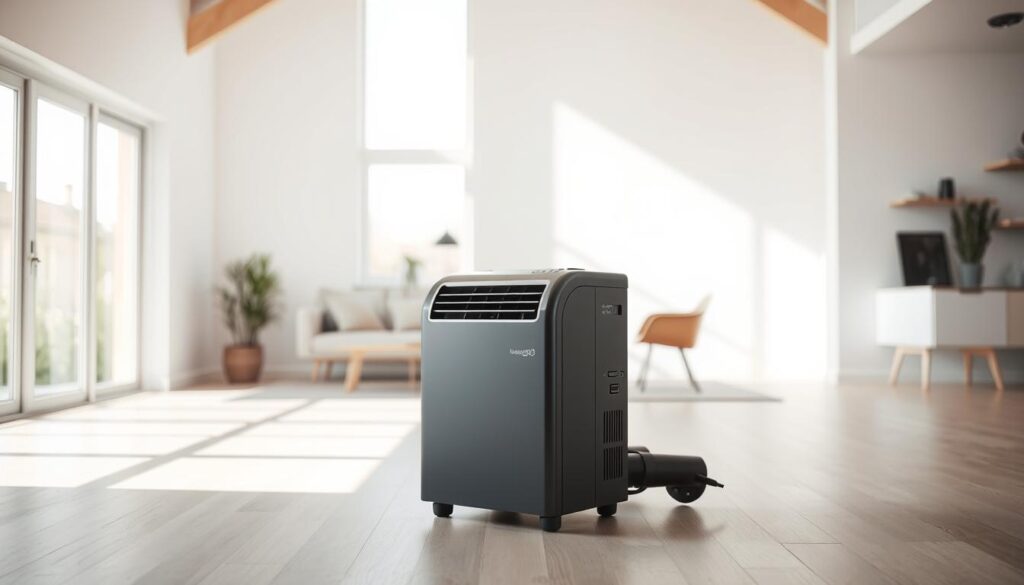
Start by scouting a window that allows for easy venting of warm air. Picture sunlight streaming in during the day and a cool breeze flowing out at night. The exhaust hose needs a clear path to expel hot air, so choose a window without obstructions like furniture or curtains.
Ensure the window kit fits snugly to prevent hot air from sneaking back in. A tight seal can improve cooling efficiency by up to 90%. If there’s a gap, use foam weather stripping or duct tape to seal it. This small step can make a big difference in performance.
Ensuring Unobstructed Floor Space and Efficient Airflow
Next, consider the floor space around your unit. Keep it at least 12 inches away from walls and furniture to allow proper airflow. Obstructions can limit the air conditioner’s ability to circulate cool air, reducing its effectiveness.
Match the size of your room to the cooling capacity of the unit. A smaller room may need less power, while larger spaces require higher BTU ratings. Testing different locations with a “trial run” can help you find the spot with the best airflow.
| Consideration | Tips |
|---|---|
| Window Placement | Choose a window with easy access for the exhaust hose. |
| Floor Space | Keep the unit 12 inches away from walls and furniture. |
| Sealing Gaps | Use foam weather stripping or duct tape for a tight seal. |
By following these steps, you’ll create a setup that maximizes your air conditioner’s performance. Think of it as placing the final piece of a puzzle—once everything fits, your space will feel cool and comfortable.
Installing the Adapter Kit and Securing the Ventilation Hose
Let’s get straight to the heart of the setup—securing the adapter kit and ventilation hose. This step is crucial for ensuring your air conditioner works efficiently. A loose fit or gaps can let hot air sneak back in, reducing cooling performance by up to 90%.
Adjusting Window Adapters to Create a Snug Seal
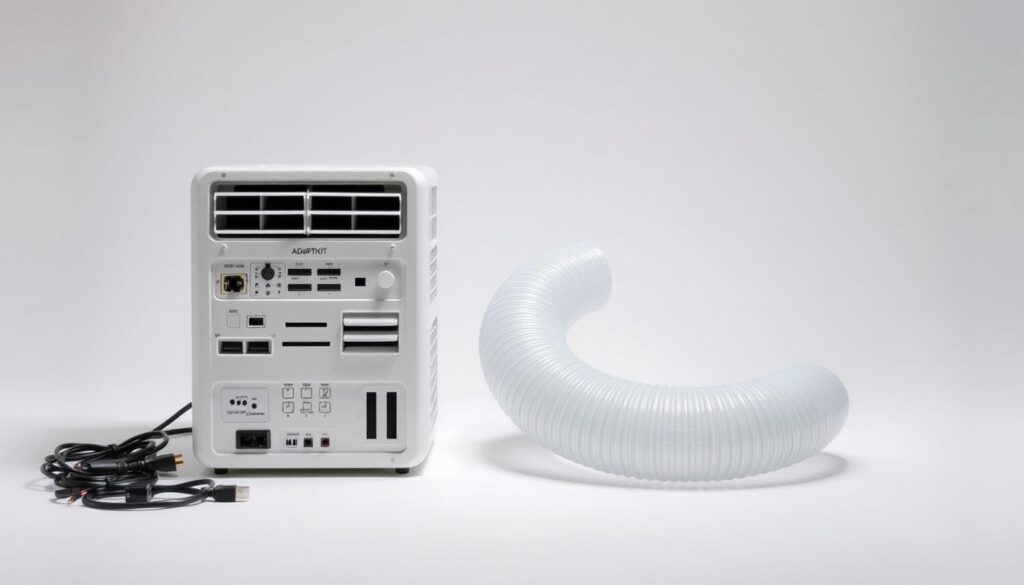
Start by fitting the window adapter into your window. Most kits come with adjustable sliders to fit various sizes. If your window is too small, trim the adapter slightly. For larger windows, use materials like plexiglass to fill the gap.
Ensure the adapter sits snugly. Even a small gap can let warm air in, so use foam weather stripping or duct tape to seal it. This simple step can make a big difference in how well your unit cools the room.
Securing Exhaust Connections Using Duct Tape and Proper Techniques
Next, attach the exhaust hose to the adapter and the air conditioner. Use duct tape to secure the connections tightly. This prevents air leaks and ensures the hose stays in place during operation.
Here’s a quick tip: Do a DIY wind test. Light a candle near the edges of the adapter and hose connections. If the flame flickers, there’s a gap that needs sealing. Fix it with more tape or foam.
- Fit the adapter snugly into the window and adjust sliders as needed.
- Use duct tape to secure the exhaust hose connections.
- Test for gaps with a DIY wind test and seal them promptly.
By taking these steps, you’ll ensure your air conditioner operates at peak efficiency. Proper sealing and secure connections mean better cooling and less energy waste. Now, you’re ready to move on to the next step—connecting and testing your unit.
Connecting and Testing Your Portable Air Conditioner’s Components
The moment of truth has arrived—it’s time to connect and test your cooling system. This step ensures everything works as it should, so you can enjoy a cool, comfortable space without surprises. Let’s walk through the process step by step.
Attaching the Exhaust and Drainage Hoses Correctly
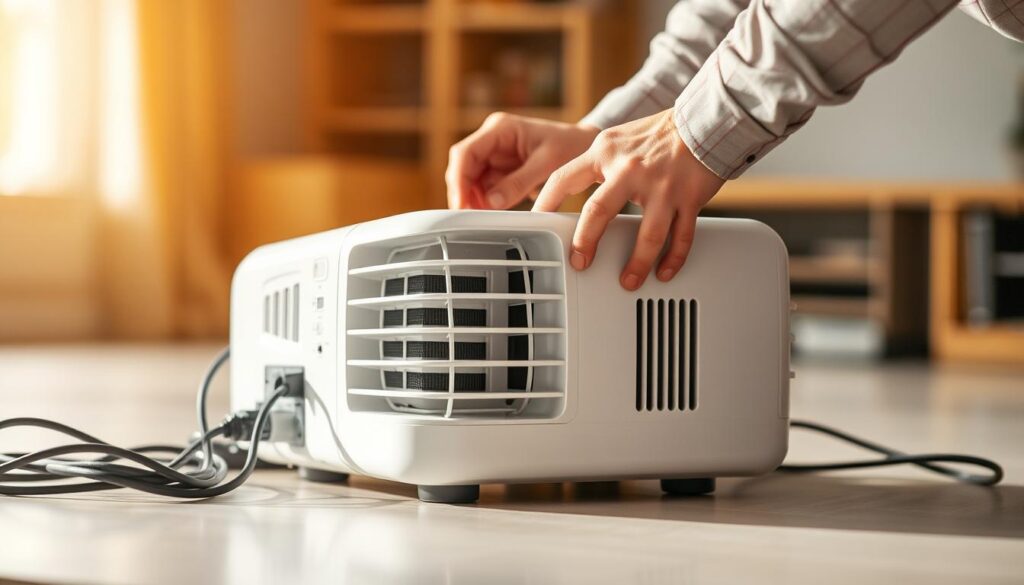
Start by connecting the exhaust hose to the unit and the window adapter. Ensure the hose is straight and as short as possible for optimal performance. Use duct tape to secure the connections tightly, preventing air leaks.
If your air conditioner has a drainage hose, attach it securely to the unit and direct it to a suitable drain or bucket. This prevents water from pooling around the unit, keeping your space safe and dry.
Performing a Preliminary Run to Ensure Proper Functionality
Before powering on the unit, double-check all connections. Plug it directly into a grounded outlet, avoiding extension cords. Turn it on and listen for unusual sounds, which could indicate a misalignment or loose connection.
Here’s a quick checklist to verify everything is in place:
- Ensure the exhaust hose is securely attached and free of gaps.
- Check the window adapter for a tight seal to prevent warm air from entering.
- Confirm the drainage hose is properly connected and directed.
If the unit doesn’t cool as expected, troubleshoot by checking for blockages or leaks. Most issues can be resolved by resealing connections or adjusting the hose placement.
| Component | Testing Tip |
|---|---|
| Exhaust Hose | Ensure it’s straight and securely taped to prevent leaks. |
| Window Adapter | Verify it’s sealed tightly to keep warm air out. |
| Drainage Hose | Direct it to a safe drainage point to avoid water buildup. |
By following these steps, you’ll ensure your air conditioner operates efficiently. Now, sit back and enjoy the cool, refreshing air in your space!
Moving Your Portable AC and Adjusting Settings for Different Rooms
Moving your cooling unit to a new space doesn’t have to be stressful—it’s all about careful planning. Whether you’re shifting it to a smaller room or a larger area, following the right steps ensures your unit continues to perform efficiently. Let’s explore how to relocate your system with ease.
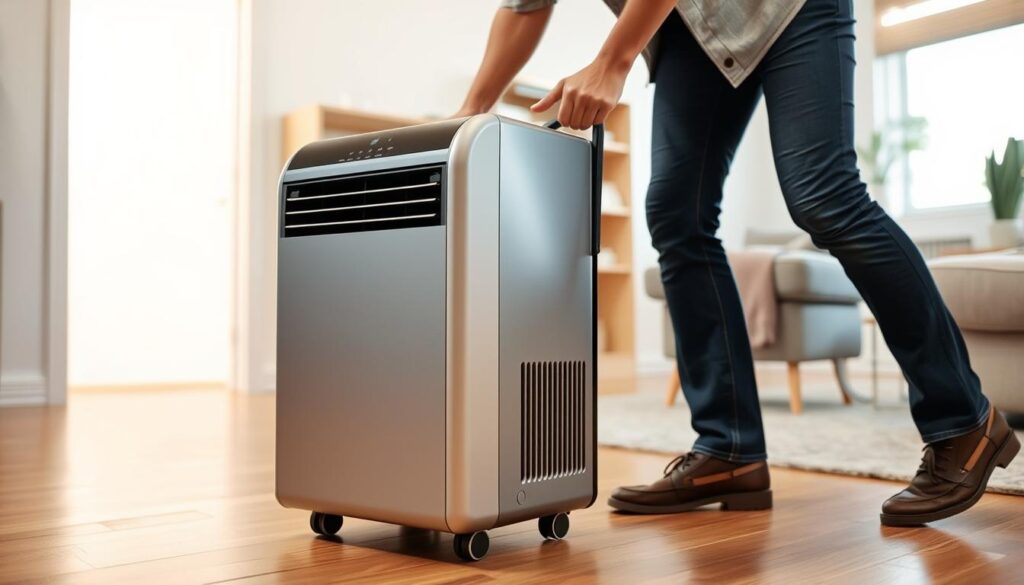
Safely Relocating the Unit While Maintaining Cooling Efficiency
Start by unplugging the unit and carefully detaching the exhaust hose from the window. Move the system gently to avoid spills or damage. Keep the hose and window kit organized for quick reinstallation in the new location.
Before moving, drain the water reservoir to prevent leaks. Most units have a built-in drain plug or tray for easy removal. This step ensures a clean and hassle-free transition.
Draining the Water Reservoir and Reinstalling the Window Kit
Once in the new room, reattach the window kit to the window. Ensure the adapter fits snugly to maintain proper ventilation. Use foam weather stripping or duct tape to seal any gaps, keeping warm air out and cool air in.
Reconnect the exhaust hose securely, ensuring it’s straight and free of kinks. Test the unit immediately to confirm it’s functioning correctly. Adjust the settings based on the new room’s size and layout for optimal cooling.
| Step | Action |
|---|---|
| Unplug and Detach | Disconnect the unit and remove the exhaust hose. |
| Drain Water | Empty the reservoir to prevent spills during transit. |
| Reinstall Kit | Secure the window adapter and exhaust hose in the new location. |
| Test Unit | Turn on the system to ensure it’s working efficiently. |
By following these steps, you’ll ensure your cooling system adapts seamlessly to any space, keeping your environment comfortable and stress-free.
Conclusion
With everything in place, it’s time to enjoy the cool comfort you’ve worked for. By following this guide, you’ve transformed a potentially confusing setup into a stress-free experience. Proper placement near a window, secure connections for the hose, and thorough testing ensure your unit runs efficiently.
You’ve not only saved energy but also created a safer, more comfortable space. Remember, keeping the exhaust hose straight and the window adapter sealed tight makes all the difference. If you move the unit to another room, simply repeat these steps for seamless results.
Now, take a moment to relax in your refreshed environment. And if you have questions or tips to share, we’d love to hear from you. Your journey to effortless cooling starts here—enjoy every moment of it!
FAQ
How do I choose the right window for my cooling unit?
What tools do I need to set up my air conditioner?
How do I ensure my unit cools efficiently?
Can I move my cooling unit to another room?
What should I do if there’s a gap around the window adapter?
How do I test if my unit is working correctly?
Source Links
- How to Install a Portable Air Conditioner | Newair Compact Appliances
- How to Install a Portable AC Unit
- Quick and Easy Guide: How to Install a Portable AC in 2023
- Portable Air Conditioners: A Comprehensive Guide | Rinaldi’s
- A Beginner’s Guide to How to Install Portable Air Conditioner
- Step By Step Guide For Installing a portable AC
- How To Install and Vent Your Portable AC
- How to Install a Portable AC Window Kit
- A Step-by-Step Guide To Installing Your Portable Air Conditioner
- How to Install a Portable AC Unit: A Step-by-Step Guide to Cool Your Space
- Create a cool zone by installing a portable AC—here’s how
- Ultimate Guide To Perfect Portable Ac Setup Now
- Step-by-Step: How to Properly Set Up a Portable Air Conditioner
- How To Install Portable Air Conditioner: The Best Way
- 5 Tips for Setting Up an Effective Portable Air Conditioner
- Portable Air Conditioner Installation: Step-by-Step Guide



0 Comments